
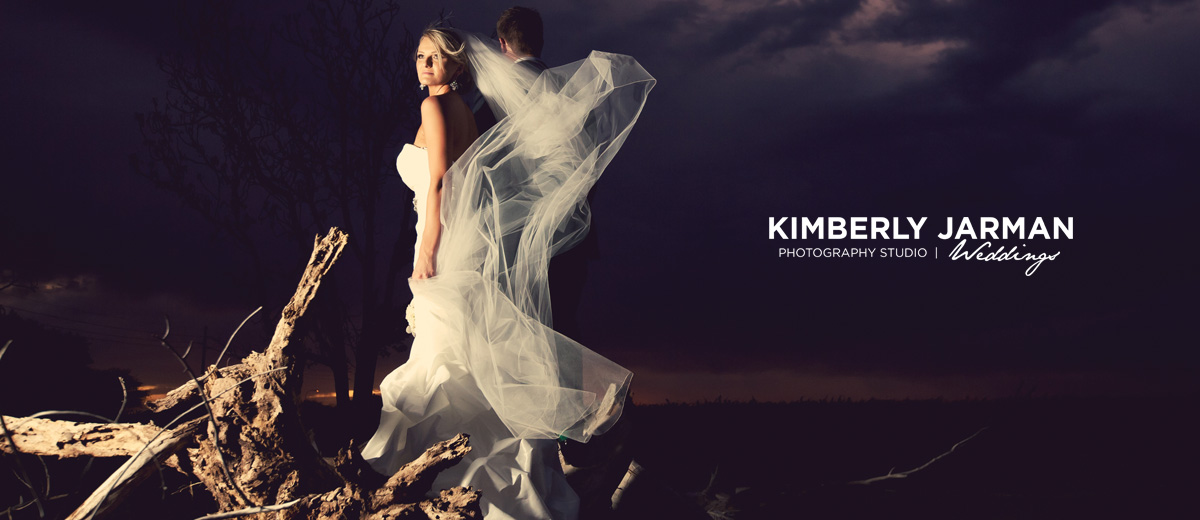


Recently I’ve had a lot of people ask me if their images are all going to look like the ones that I put on the blog or facebook. While in a way the answer is yes, it’s also no. I thought I would do a blog to help people see and understand the differences between color corrected, edited, and blogged images.
Most photographers nowadays give out a disk of images with their wedding packages. This disk of images includes normally over 1000 images. In most cases photographers take over 3000 images at a wedding and narrow it down to the best images and then give a disk of images to the clients with those best images. It’s a tediously long process and just sorting through the images takes quite a bit of time. I want to share with my clients as well as anyone else who is interested the process that we go through during a wedding.
Color Correction
Our typical wedding has anywhere from 3,000-5,000 images taken. We will sit and sort down those images to the best 800-1200 images depending on the length of the day. From those chosen we color correct every image, meaning that we look at every single image and make sure that the image looks great and if printed will print beautifully. We look at color, exposure, blacks, contract, etc. We also color correct most of the images in color and don’t do many black and white images in the main gallery, which means 95% of the images that are first seen will ALL be in color. The reason is because once you color correct an image to black and white and export the jpg for the final gallery you can not go back and turn that image to color, but if you keep the image as color you can then turn it to black and white if necessary. We do create a favorites folder for all of our clients that will have duplicate images from their main gallery with some of our favorite images turned black and white, so that they do have a mix of these images. Below are a couple of examples of before and after of color correcting.


You can see that there is a difference between the image on the left (straight out of the camera) and the image on the right (which has been color corrected).
We color correct every image and this is what our clients will receive on the disk. They are great to print off and will look amazing as 4×6, 5×7, and 8×10 prints.
Editing
Editing of images is something that we do in our final process of printing and album design. Every print, canvas, or album that comes out of our studio get’s a little more looking at to make sure that everything looks great. At this point we don’t need to adjust color, exposure, or any of those basic things because they’ve already been done in the color correcting phase, however, we do look at the picture to see if there are any blemishes that should be removed, fly away hairs, or other things that might need special attention. Because we hand our clients over 1000 images we can’t “edit” every single image we hand out, which is why we only work on those “favorite” images that the client has ordered.
You can see an example below of the difference between a “color corrected” image and an “edited” image. Roll over the image to view the “edited” image. Notice you’ll have to look closely as we only do minimal work such as softening and editing some blemishes. Normally there isn’t much of a difference as the color correction is the most important part of the process.
![]()
Roll off and on the image to see the difference. You’ll notice that there isn’t much of a difference.
Blogged/Facebooked images
This is the part where most people get confused. They see the images on our blog and facebook and then see the entire disk of images and wonder why we haven’t’ “edited” all the images and why all their images don’t look like the images on the blog.
Once we have color corrected the images from a wedding we go through and pick out our favorites that we want to highlight. Usually the editing of the images is pretty much the same as in the original images, but sometimes here we will add Black and White images, or maybe a different color process.
Once we have chosen our favorites we create a folder of favorites that will go on the clients DVD and then we facebook and blog the images.
The Facebook/Blog images have one more step before we publish them, we send them through an action that sharpens the image. This only is used for images that we put on the web, because if we did this sharpen to images that were printed they wouldn’t print well and they would be too sharp. So, the images on our blog and facebook do look differently than the hi-res images that are used for print because of the sharpen on the images. We also don’t “edit” the blog/facebook images, they are straight out of color correction and then sharpened for our blog/facebook.
Below is an example of an image that has been color corrected but not sharpened and then one that has been color corrected and then sharpened.

To see this a different way just roll off and on this image below and you can see the difference.
![]()
So, the only real difference in the hi-res images that we give our clients and the blogged images we show them is a sharpen action. We color correct the same for all the images and in the end everything looks great!
I’d love to hear thoughts on this and questions. Feel free to comment and I’ll reply through either facebook or our blog.


by kimberlyjarman
kimberlyjarman - Jessica, it’s so true!! I hope this helps people see the difference!
kimberlyjarman - Hi Mark,
When we get a wedding in the first thing we do is import them into lightroom. We then rename the images for “capture time”. From there we back up the images so that we have them in 2 different locations. We then start sorting through the images to choose our favorites. Then we take those favorites and color correct them.
Does that answer your question?
Kim:)
Jessica - Thanks for putting this into words, so many people think the photos should be available the day after you shoot them. They have no clue how many photos are taken and how time consuming editing and color correcting can be. It’s been a hot topic in our office lately. Amen sister! As always, your photos are beautiful!
Mark Kuper - Thanks for the Great Info on your process Kimberly! When you say “color correction” as your first step, what all does that cover? Thanks Again!
kimberlyjarman - Hi Nealy,
That is a great question. I actually use Magic Sharp from Kubota Actions. I basically just run that on all of my images for the blog. It’s pretty sharp, so some people tone it down a bit, but I just use the original action and use it on all the images that I blog/facebook.
Kim:)
Nealy - Hi Kimberly! Thanks for this article- you did a great job of explaining the difference for clients. I would love to hear precisely how you sharpen your photos for web (what ratio/threshold/etc.). 🙂